
Create / Manage Group
You must have a Tabletop.Events (TTE) account in order to purchase badges, tickets, merch, etc. and setup/run a convention. You can find instructions on Creating an Account here.
Tabletop.Events requires a group be created before conventions can be created. A group can have one or multiple members with different roles. All conventions (within one year or across many) can be created from the same group and can share a Stripe payment account. Currently the only way to view a group is to be a member or for someone to send you a direct link to the group's home page.
Create Group
- To create a group, log onto your TTE account, click on your username, and then click on My Groups on the right side of the page under Conventions.
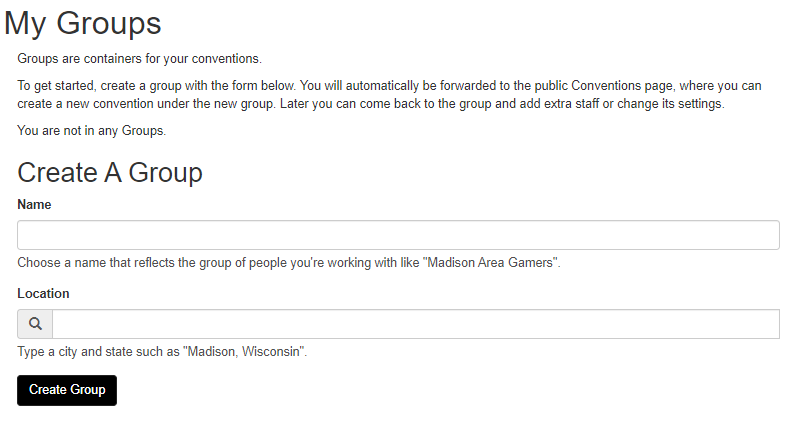
- This will take you to the My Groups page. If you are already a member of a group, it will be listed at the top of the page. To create a new group, enter a name and location into the Create A Group section of the page. Click "Create Group" at the bottom of the page.
Additional Path to Create Group
- For another way to create a group, log onto your TTE account, click on Conventions in the page header.
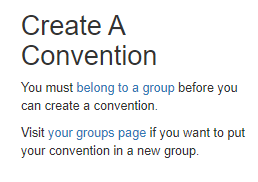
- On the right side of the convention listing, there is a Create A Convention section. If you are already a member of a group, it will be listed at the top. You can then use the hyperlink to navigate to your groups page and create a group.
- If you are not already a member of a group, click the hyperlink to belong to a group. This will take you to the My Groups page where you can create a group.
Format Group
- Formatting a group is completely optional.
- To format the layout of your group page, navigate to the My Groups page.
- Click on the "Manage" button to the right of the group name and choose Edit.
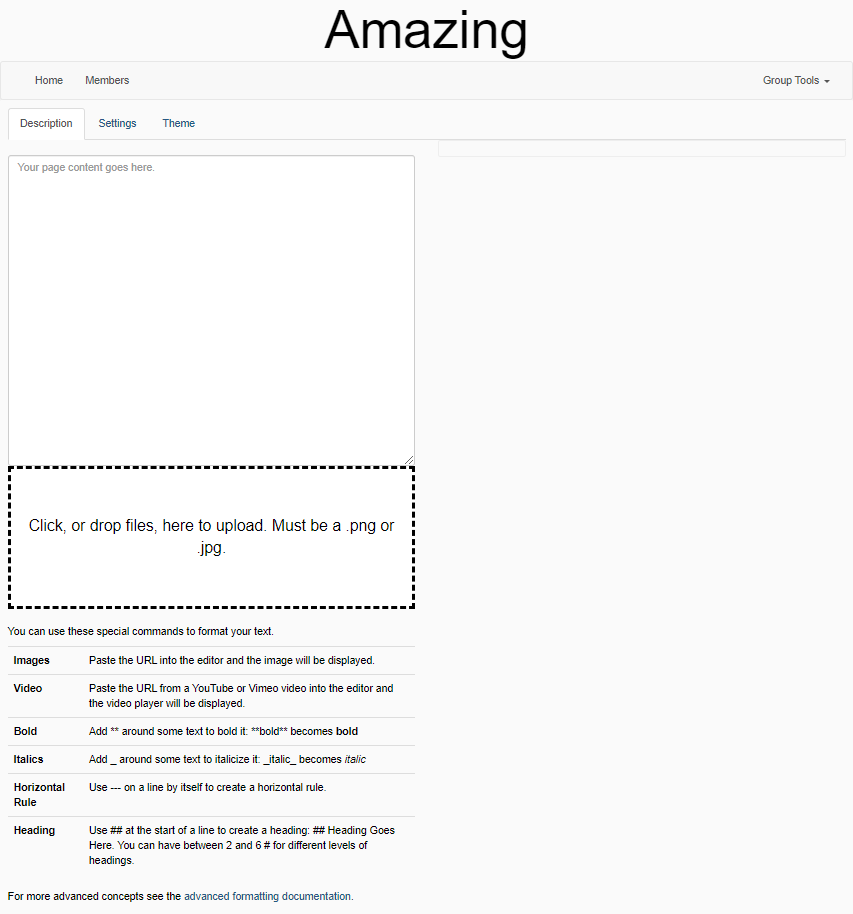
- This will open the Groups page.
- In the Description tab, you can write an introduction to the group and/or upload an image that represents the group.
- In the Settings tab, you can determine how your group will function.

- Group Name: The name of the group.
- Name: The name of the group.
- Is this group for your own personal use?:
- Private allows only members to view the group.
- Public allows anyone with a direct link to your group to view the page.
- Enrollment:
- Open allows people who get to your group page to automatically join the group as members.
- Applications Welcome allows people who get to your group page to apply to join the group as members.
- Invitation Only notifies people that membership in the group is by application only.
- City, State: The location of the group headquarters.
- Phone Number: The phone number for the group.
- Email Address: The email address for the group.
- Web Site URL: A link to an non TTE site.
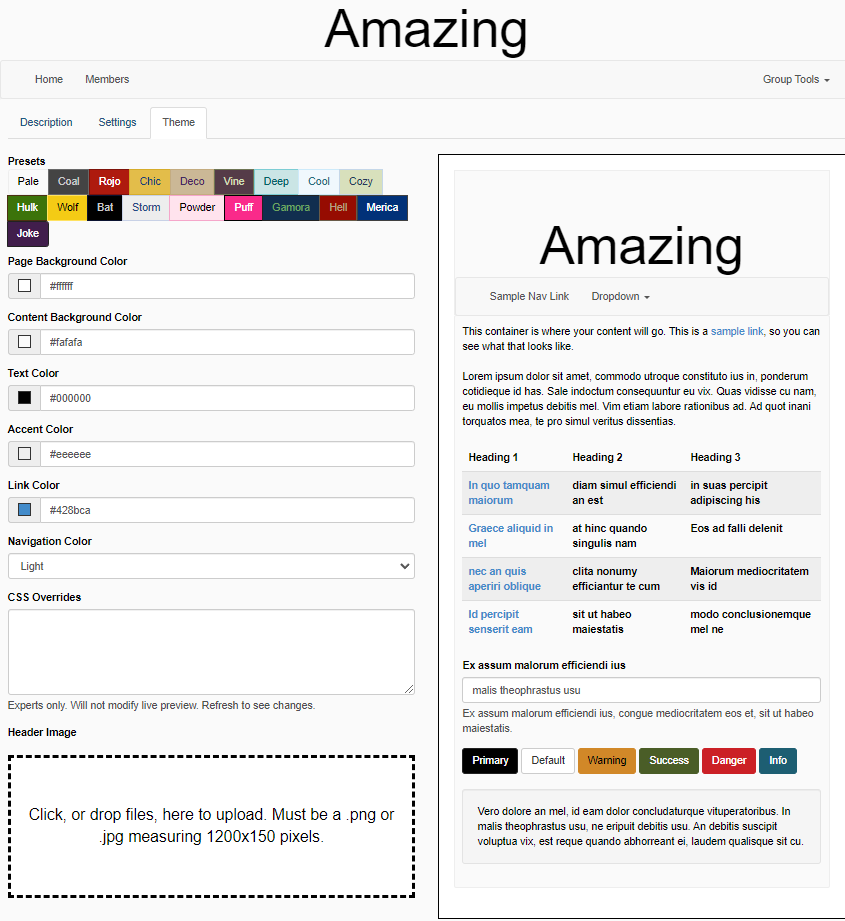
- In the Theme tab, you can set the look for your group page.

Additional Path to Format Group
- For another way to format a group, from the Groups page, choose Group Tools > Edit This Group.
Add Members to Group
Invite Member
- To invite a member to your group, navigate to the My Groups page.
- Click the group for which you wish to add members.
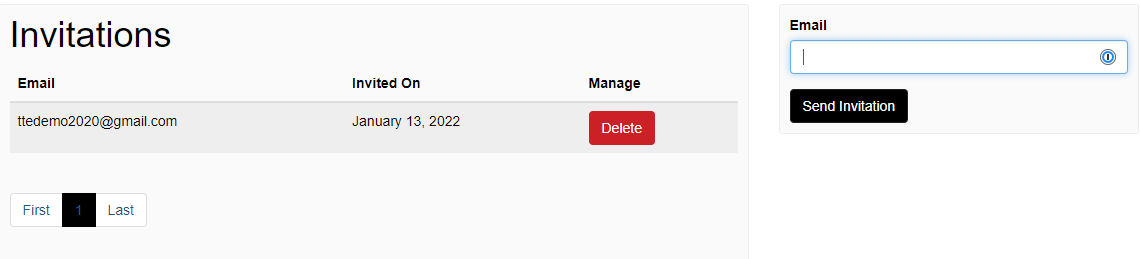
- Go to Group Tools > Invitations.
- Type in the Email Address of the member your wish to add, and click "Send Invitation".
- The email and date invited appears in the Invitations section of the page.
- An email will be sent inviting the person to join your group. If they have a TTE account associated with that email, they can log on to accept the invite. If they don't have a TTE account associated with that email, they will need to create one using the exact email address which the initiation was sent.
- You can also delete invitations from this page.
Approve Member Applications
- If your group is set to Applications Welcome, people who have visited your group's page have been able to apply to join. To review applications, navigate to the My Groups page.
- Choose the group for which you wish to approve members.
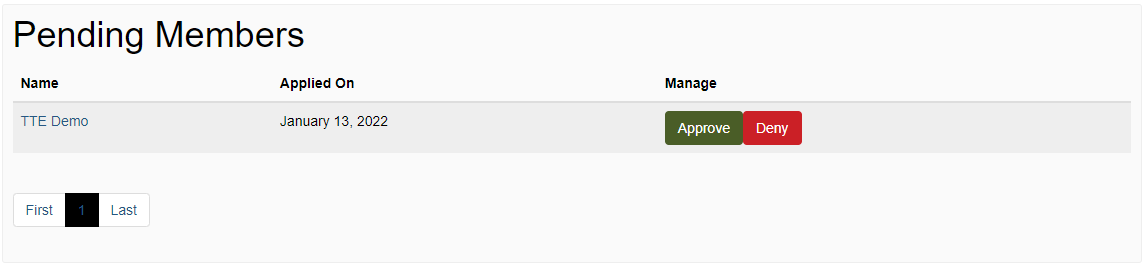
- Go to Group Tools > Pending Members.
- Here you will see a list of TTE users who have applied to join the group. You can click "Approve" or "Deny".
Manage Group Membership
Once a member is added to your group, you can edit their roles in the group or remove them from the group.
Member Roles
- Leader: A single Leader is allowed for each Group. The Leader is the main contact for all conventions created within the Group. The Leader must setup the Stripe payment account that will support a convention, and they will be the only person able to see Stripe Payout information. Leaders have full access to Convention Tools before, during and after the convention and will receive all emails that are sent from TTE regarding the convention. A Leader is also considered a Director.
- Directors: Multiple Directors are allowed within a Group. Directors have full access to Convention Tools before, during and after the convention.
- Members: Other members of the group. Members will not have access to Convention Tools.
Manage Role
- To manage members, navigate to the My Groups page.
- Choose the group for which you wish to manage members.
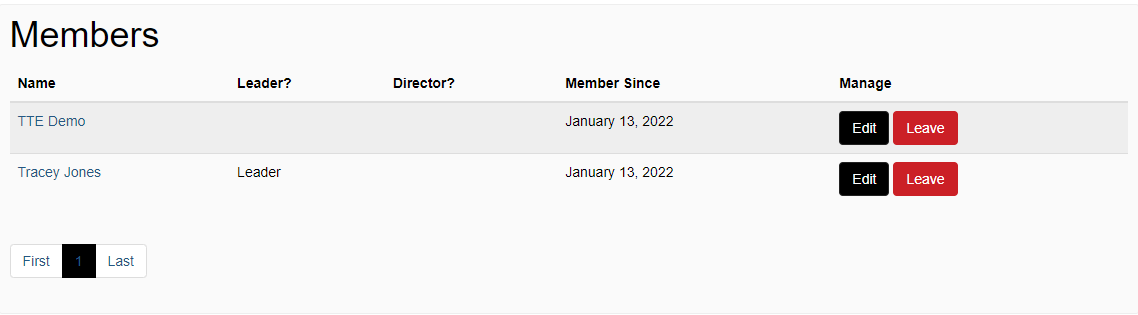
- Go to Group Tools > Members.
- Here you will see a list of TTE users who are part of your group. Their role within the group is listed to the right of their name. To change their role, click "Edit" to the right of the member name.
- Depending on their current role, you will have one to two of these available buttons. "Promote to Director" "Promote to Group Leader" "Demote from Director"
- Click the appropriate button to change their membership.
Delete Member
- To delete members, navigate to the My Groups page.
- Choose the group for which you wish to remove members.
- Go to Group Tools > Members.
- Here you will see a list of TTE users who are part of your group. You can click "Leave" on this screen or click "Edit" and then "Remove from Group" on the following page.
Delete Group
- To delete a group, navigate to the My Groups page.
- Choose the group you wish to delete.
- Go to Group Tools > Delete This Group.