Submit / Host Convention Event
Many conventions include events that are submitted by convention attendees. Some conventions will choose to allow event submissions from anyone, while others will require a badge purchase first.
Submit Event
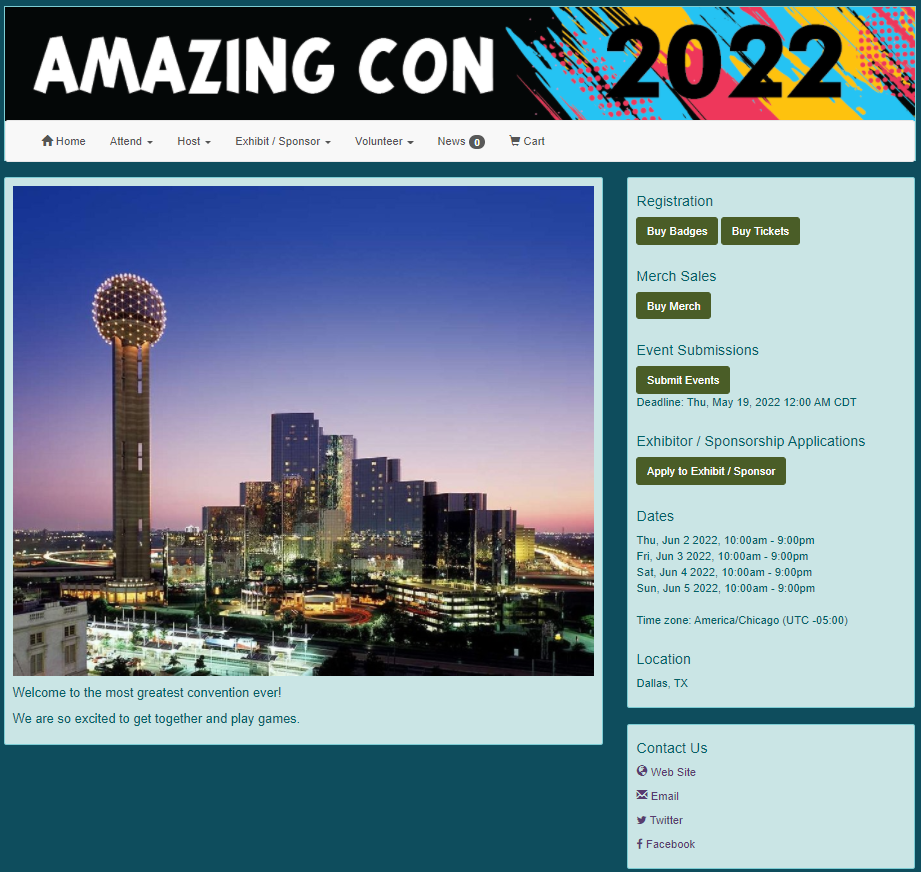
- Go to the home page of the convention you are attending.
- You can either click the "Submit Events" button in the Event Submissions section OR go to Host > Submissions. Note: You may or may not be required to already have purchased a badge (or have one in your cart) to this convention depending on their settings. This will take you to the Submit Events page.
- Click the "New Submissions" button at the bottom of the page.
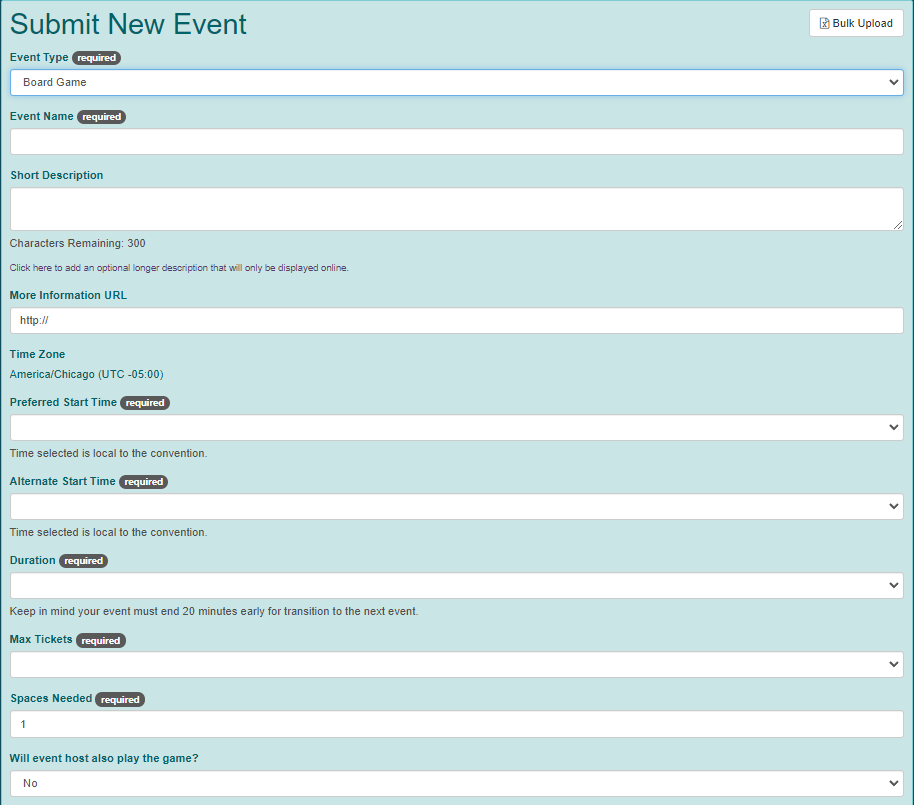
- Select an Event Type from the types specified by the convention.
- Continue with the submission by completing the remainder of the form. Anything with a required tag must be completed.
- Event Name: This will be displayed on the convention schedule.
- Short Description: A short description giving attendees information about the event. Note: There is an option to create a longer description that is displayed on the website only.
- More Information URL: This link could provide additional information regarding your event (for example, a bio page for a podcast, online platform, pdf rules, etc.).
- Preferred Start Time: The convention organizer will schedule your event. You must give them a time preference to aid them with scheduling.
- Alternate Start Time: An alternate time preference to aid with scheduling. It is recommended that you enter something different than the Preferred Start Time.
- Duration: How long will your event last. This should include setup, play time and clean up.
- Max Tickets: How many tickets are available at your event. If you select Yes for "Will event host also play the game?" (below), your own ticket is assumed to be included in this number.
- Spaces Needed: How many tables will you need for your event.
- Will event host also play the game?: Select Yes if you will also play while hosting. Note that at submission, it is assumed that there will be only one host and that this seat is included in Max Tickets (above). This option is only available if enabled by the convention organizers.
- Reserved Tickets for Attendees: If you have specific people that are already signed up to play in the event, you can set the number of reserved tickets here. You will be able to select members of your friend list to receive reservations for event tickets. The attendee will need to respond to the reservation and purchase / get their ticket for the event to show on their schedule.
- Age Range: Choose an appropriate age range for your event.
- Has Special Requests: Available items will vary by convention. If there is something you need and it is listed, be sure to let the convention organizer know.
- Additional fields may be on the form depending on the convention setup.
- Event Submission Rules: Rules set by the convention that all event hosts must follow.
- Click the "Create" button. You will return to the Submit Events page. Your event will have a Status of Pending Review.


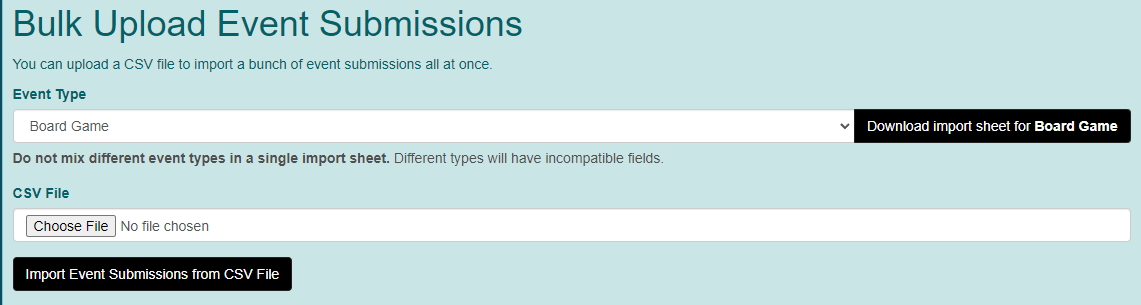
Bulk Import Events
- If you have several events to submit at once, it may be easier to use the bulk import function.
- After you have chosen Host > Submissions from the convention page, click "Bulk Import" on the upper right-hand portion of the screen.
- You must choose the Event Type and then click "Download import sheet for [event type]".
- Once you have created the CSV file, click "Choose File" and navigate to the appropriate location.
- Click "Import Event Submissions from CSV file".
Edit Event
- Go to the home page of the convention you are attending.
- Go to Host > Submissions. This will take you to the Submit Events page.
- Click "Edit" button next to the event you wish to edit.
- Make your changes to the event information.
- Click the "Done" button.
After Submission
After an event is submitted, the convention organizers will review your submission. An event can have changes requested, be declined or approved.
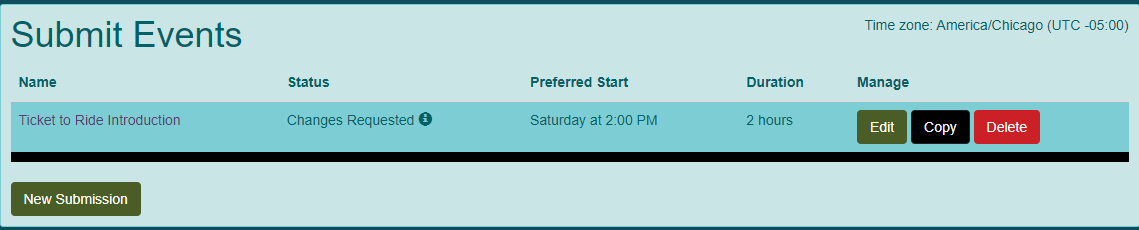
Changes Requested
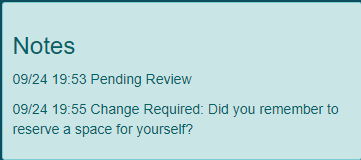
- If the convention organizers request a change to your submission, they will comment their requested changes and then send it back to you. An email is sent to you with the details. The event will have a Status of Changes Requested on the Submit Events page.
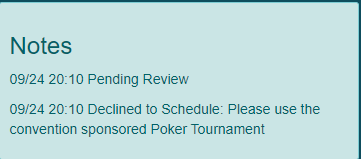
- Click the "Edit" button. Note: Notes from the organizer will appear in the Notes section on the right of the page.
- Click the "Done" button. You will return to the Submit Events page. Your event will again have a Status of Pending Review.
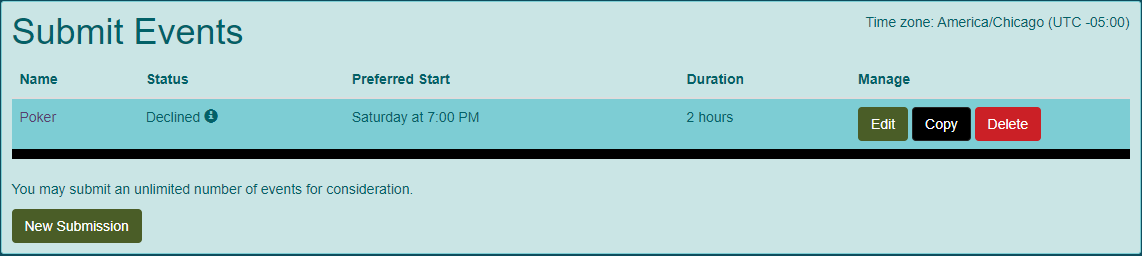
Declined
If the convention organizers choose to decline your submission, they will comment their reasons and send it back. An email is sent to you with the details. The event will have a Status of Declined on the Submit Events page.
Approved
- If the convention organizers choose to approve your submission, the event will have a Status of Queued for Scheduling on the Submit Events page.
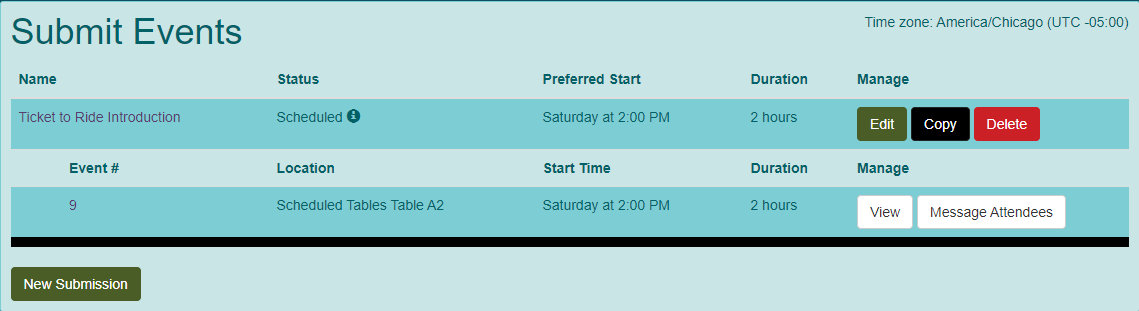
- Once the event has been scheduled, you will receive an email with the details. The event will have a Status of Scheduled on the Submit Events page. Your event is visible on the convention schedule.
- If you wish to view the event information (such as attendees), you can click the "View" button next to the event detail.

View Events You Are Hosting
- If you wish to view a simplified list of the events you are hosting that are on the schedule, go the homepage of the convention.
- Go to Host > Events I'm Hosting.
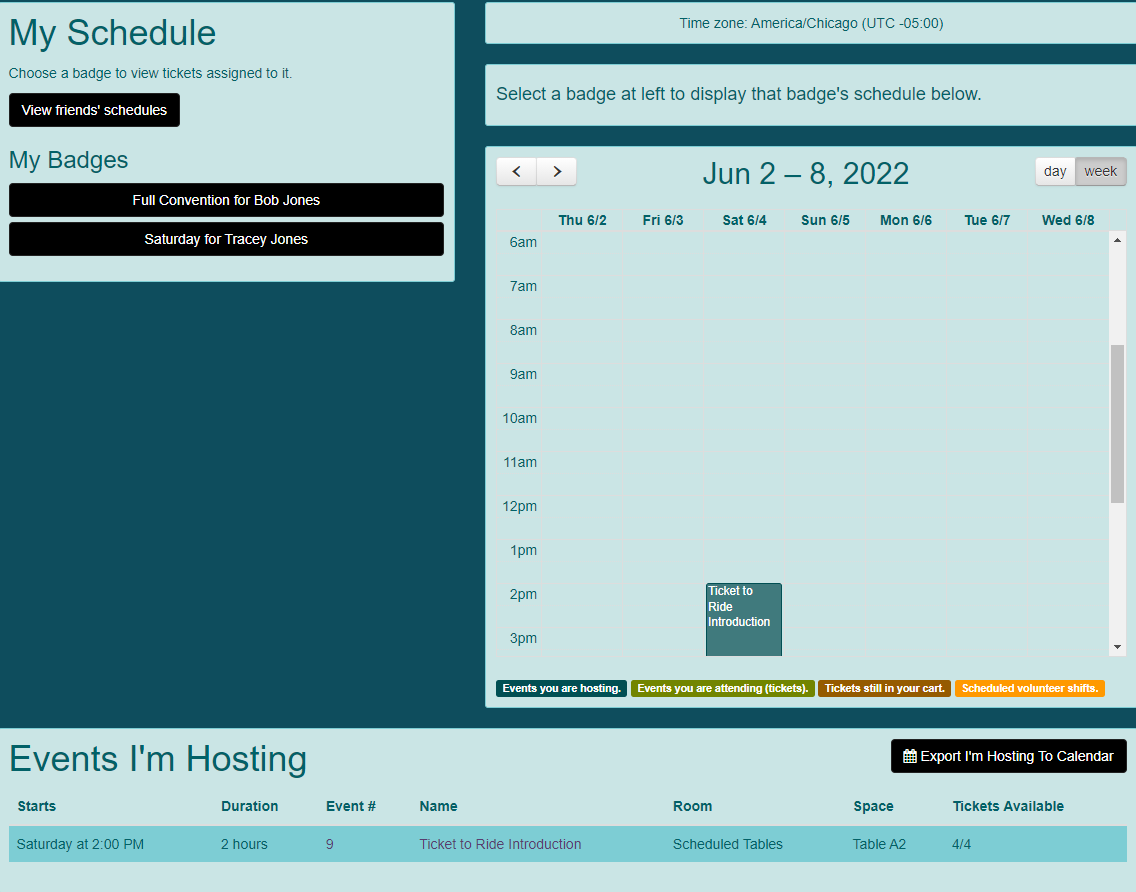
- You can also see your events you are hosting by going to Attend > My Schedule.
- Events you are hosting are listed at the bottom.

Message Attendees
As people begin buying tickets for your event, you can send them messages through the TTE system.
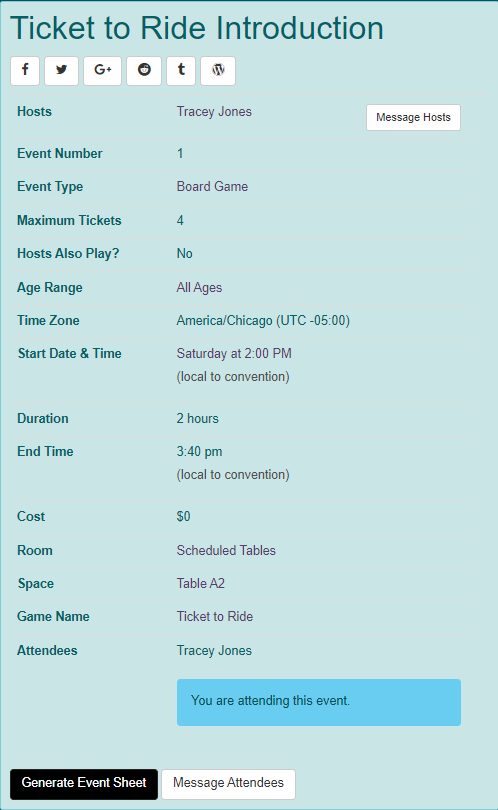
- Go to Host > Events I'm Hosting from the convention home page.
- Click on the event number or name.
- Click on the "Message Attendees" button at the bottom of the page.
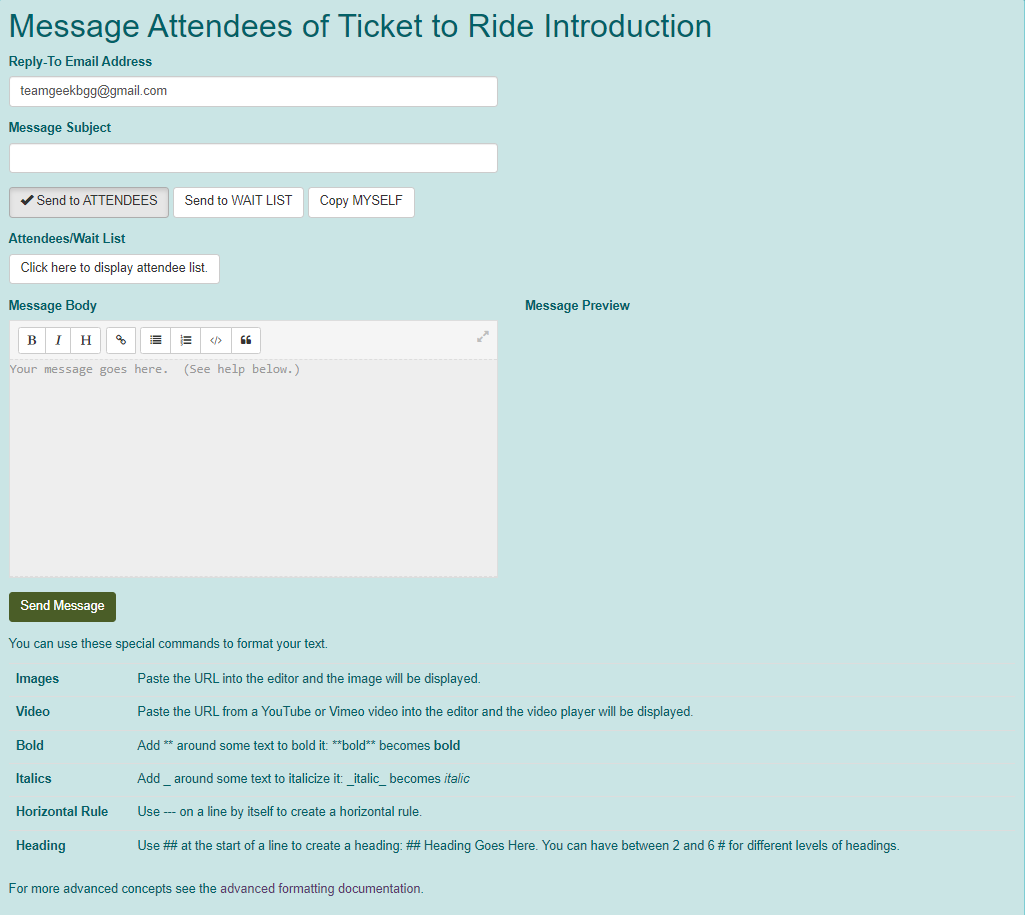
- Verify the Reply-To Email Address.
- Add a Message Subject.
- Choose the audience for the message.
- Add a Message Body.
- Click "Send Message".
- A copy of the email will come to you if you selected to copy yourself.