Purchase Convention Badge
You must have a Tabletop.Events (TTE) account in order to purchase badges, tickets, merch, etc. You can find instructions on Creating an Account here.
When purchasing a badge, you must find the convention you wish to attend. Then you may purchase:
- for yourself or friends under your TTE account
- for a friend on your Friend list
- for a friend not on your Friend list (permissive gifting)
Finally you checkout your cart.
After you have purchased a badge, you can always review the badge details or the receipt.
Find Convention
First, you must search for the convention for which you'd like to purchase a badge. Note: If you have been given a direct link to the convention page, then you can skip this portion.
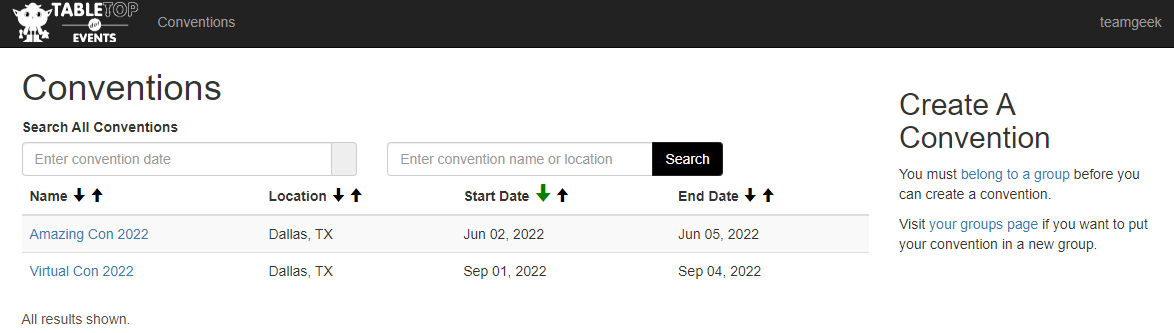
- Navigate to the Tabletop.Events website, then click on Conventions in the top left portion of the page next to the TTE logo.
- This will take you to the Conventions/Create A Convention page. You can search for your convention using the convention dates or all or part of the convention name. Click "Search".
- Click on the convention name. This will take you to the home page of that convention.


Adding Badge(s) To Your Cart
For Yourself or Friends Under Your TTE Account
- From the home page, click the "Buy Badges" button in the Registration section.
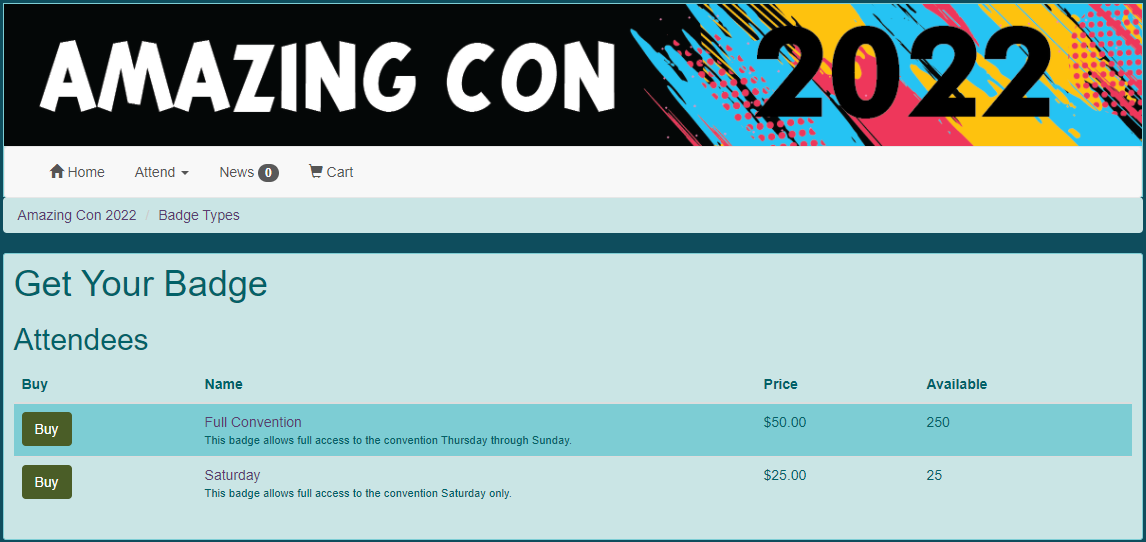
- You will see all of the available badges and their costs. Note: This sample convention also shows how many badges of each type are still available for purchase.
- Click on the "Buy" button next to the badge type you would like to purchase.
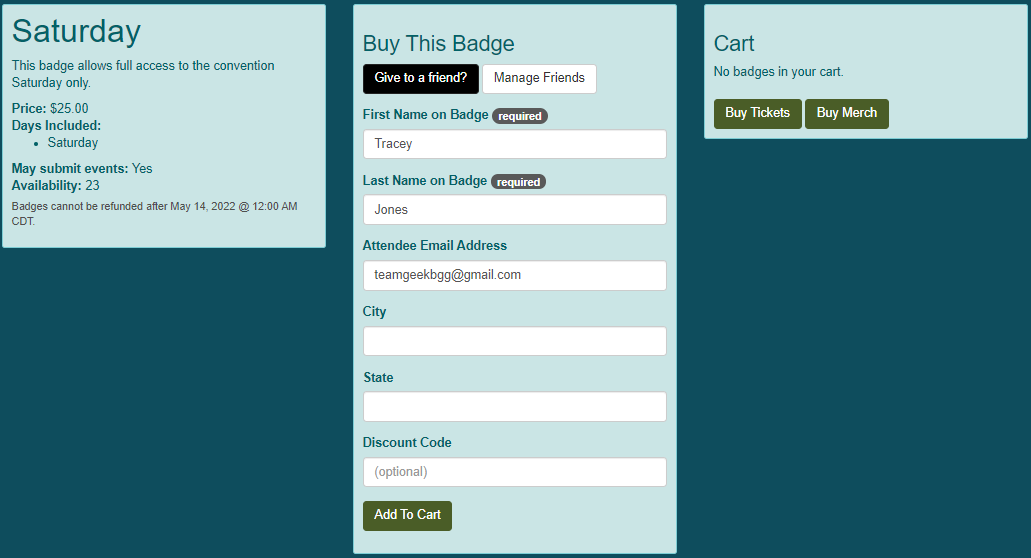
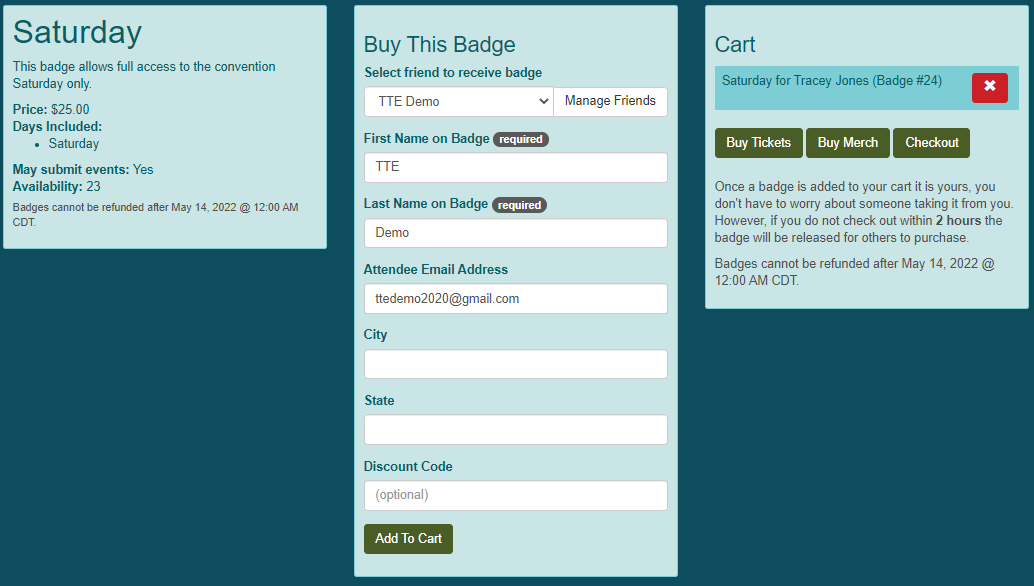
- The full badge description appears on the left. Your name and email address will be automatically entered from your TTE account information. Note: Additional fields will be requested as designed by the convention.
- If you have been given a Discount Code or one is publicly available, you must enter the code here. Click "Add to Cart".If you are purchasing a badge for a friend (but using your TTE account), then you will enter their account name and email. Then click "Add to Cart".
For a Friend on Your Friend List
TTE has a Friends system which allows you to create Friend link between your TTE account and those of other people you know. Between friends, you can buy badges, tickets and merch for each other. You are also able to see convention event schedules for your friends.
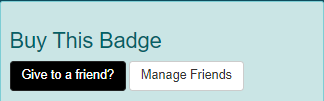
- From the badge detail page, click on "Give to a friend?" in the Buy This Badge section.
- Choose a friend from the drop-down list list. Their information will be auto-filled into the badge information.
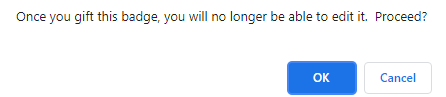
- Click "Add To Cart". You will receive a system notification.
- Click "OK".
For a Friend Not on Your Friend List
- You can also buy badges for anyone if you have their email address.
- From the badge detail page, click on "Give to Friend?" in the Buy This Badge section.
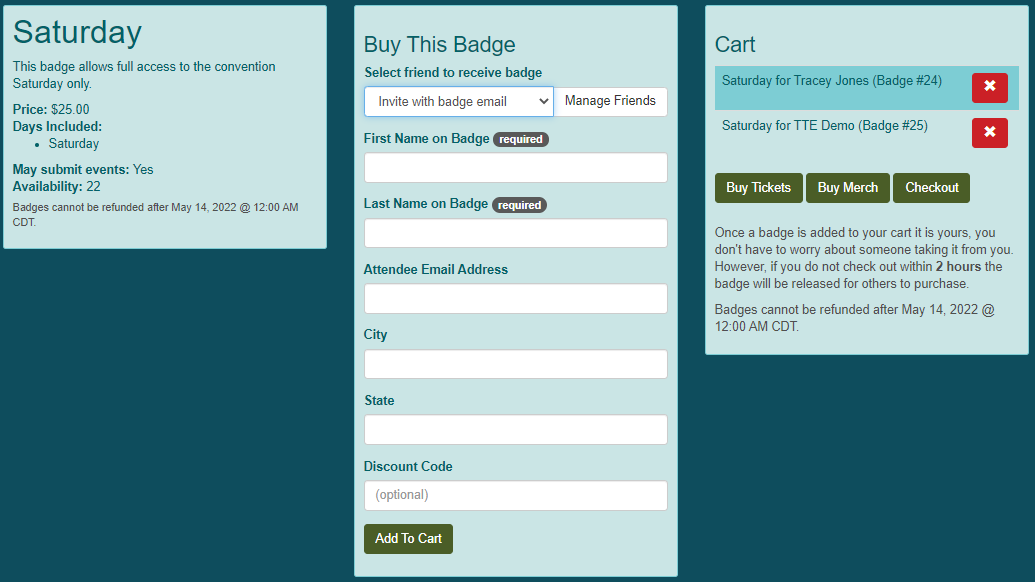
- Choose Invite with badge email from the list. Enter all required fields.
- Click "Add To Cart". You will receive a system notification.
- Click "OK".
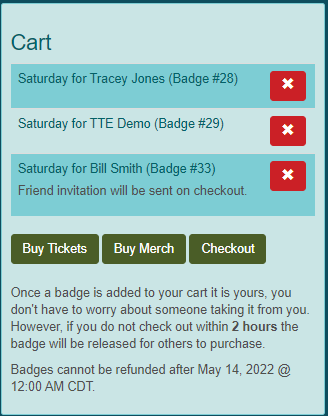
- Under the Cart section, the new badge will have Friend invitation will be sent on checkout.
Checking Out
Once a badge has been added to your cart, it is yours. However, if you don't check out within 2 hours, all badges will be released for others to purchase.
- Click the "Checkout" button in the Cart section.
- When checking out, you can choose "Guest Checkout" to use a credit card and not save it to your TTE profile. Enter your card information and click "Verify Card". Once the card is verified, you must click "Pay via Credit Card" to complete the transaction or "Clear Card" to enter another card. If you wish to save the card to your profile for faster checkout during later purchases, skip to step 3.
- To add a card to your TTE profile, click the "Add a credit card button" in the Pay by Credit Card section. Complete all the fields and click "Save Card". If you have a card saved to your TTE account, skip to step 4.
- To load a saved card, click the drop-down and choose the appropriate Credit Card and enter the Zip Code associated with the card. Click "Pay via Credit Card".
- After you have completed checkout, you will receive see a receipt for the transaction. A copy will be sent to your e-mail.
- You can cancel badges by clicking on the "Refund" button. If you want to change the information on a badge, you can click on the "Edit" button.


For a Friend on Your Friend List
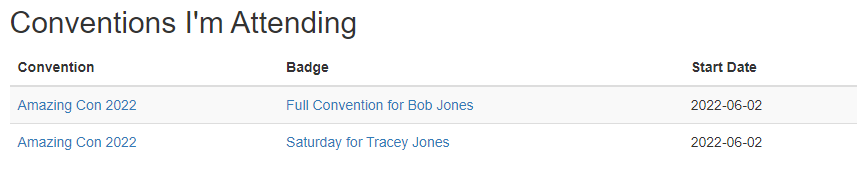
When you checkout with a badge that was purchased for someone on your Friend list, an email titled "Your friend [your name] gifted a badge to your Tabletop.Events account" will be sent to them from info@tabletop.events. They can also see the badge under the Conventions I'm Attending section of TTE.For a Friend Not on Your Friend List
For a Friend Not on Your Friend List
When you checkout with a badge that was purchased with an email invite for someone who already has a TTE account, an email titled "Your friend [your name] gifted a badge to your Tabletop.Events account" will be sent to them from info@tabletop.events. Another email titled "Friend Invitation from [your name]" will also be sent. They can choose to friend you to be able to share schedule information. They can also see the badge under the Conventions I'm Attending section of TTE.
When you checkout with a badge that was purchased with an email invite for someone who doesn't have a TTE account, an email titled "Set Password For New Account" will be sent in addition to the "Your friend [your name] gifted a badge to your Tabletop.Events account" and "Friend Invitation from [your name]" emails. They will need to create a password for their account. They can then choose to friend you to be able to share schedule information. They can also see the badge under the Conventions I'm Attending section of TTE.
Reviewing Your Badge
From Your TTE User Information
- If you wish to review your badge after purchase, click on your username in the upper right hand corner of the screen.
- In the Conventions I'm Attending section, click on the badge you wish to review.
- To change any of the fields in the badge, click on the "Edit" button at the top of the page.

From the Convention Page
- You can also view your badge by going to the home page of the convention, and choosing Attend > Get / View Your Badge.
- In the My Existing Badges section, all your badges for this convention will be listed.

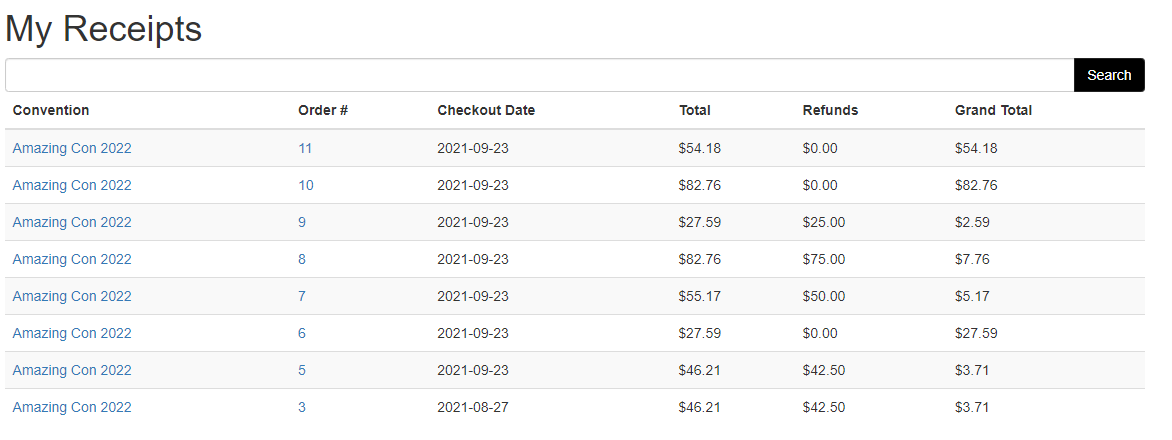
Reviewing Your Receipt
- If you wish to review your receipt, click on your username in the upper right hand corner of the screen.
- In the Conventions section, click on My Receipts.
- Click on the receipt number you wish to review. You do have the option to edit badges that are still under your control.