Activate Merch Module
Merchandise can be sold through TTE and is set up in the Merch module. After you have completed creating your convention, you can activate this module and configure merch to get them ready for sale. The Merch module can be configured when a convention is public or private. However, merch sales cannot begin until a Stripe Standard Account is configured for your convention.
TTE has created the merch module to assist with pre-order and on-site sales of merchandise. The system is not set up to allow for sales that include shipping to the attendee.
Enable Merch Sales
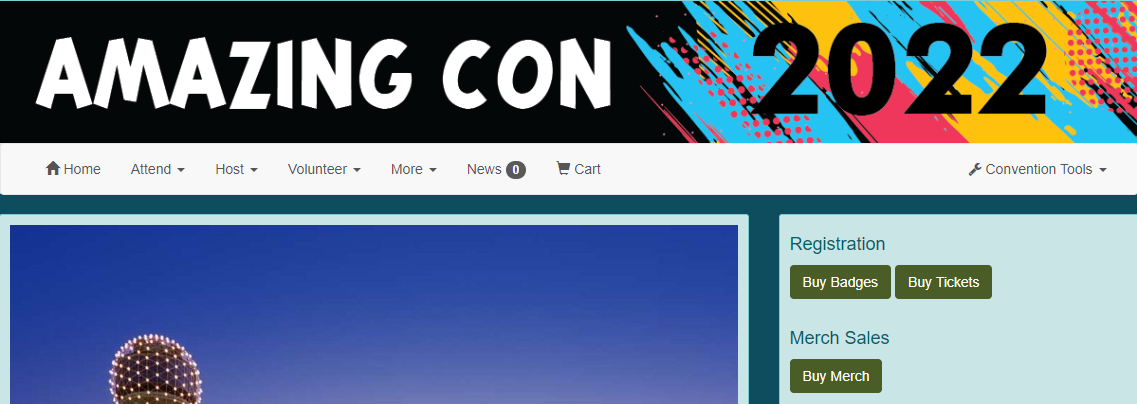
- Open the home page for your convention.
- Go to Convention Tools > Merch > Settings.
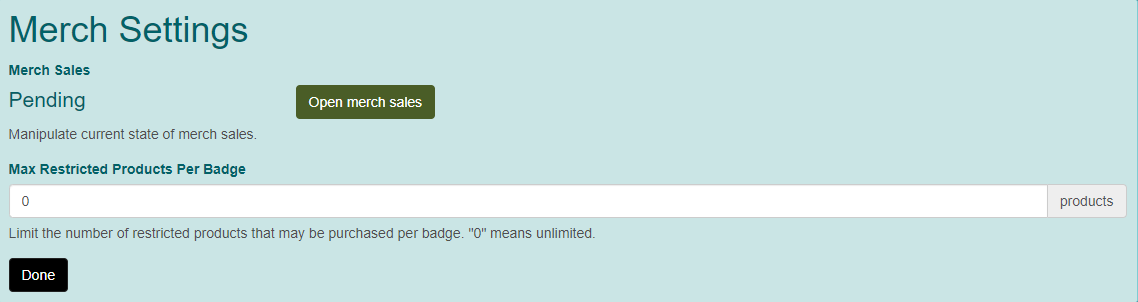
- This will display the Merch Settings screen.
- Click the "Enable merch sales" button under Merch Sales.
- This will display additional fields in the Merch Settings screen.
- Merch Sales: The default for this field is pending.
- Max Restricted Products Per Badge: Do you have a limit to the number of products that a single badge holder may purchase?
- Click "Done" when you are finished.

Create Products
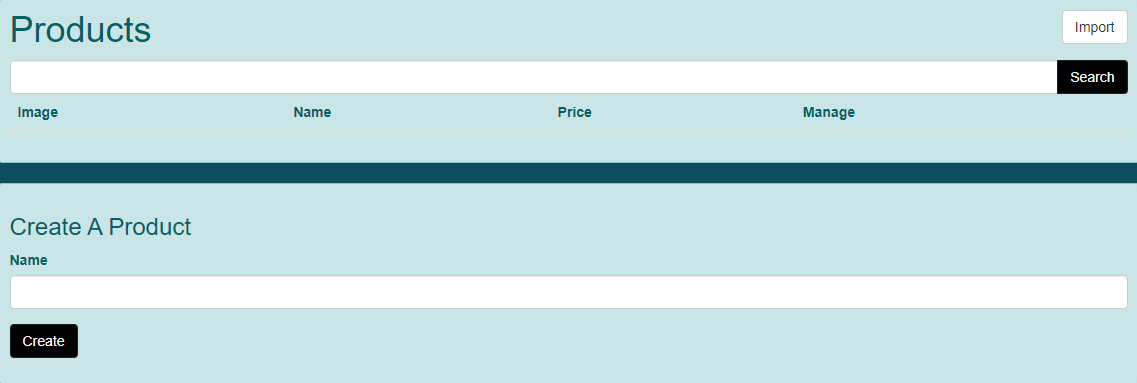
- Go to Convention Settings > Merch > Products.
- This will display the Products screen.
- In the Create Product section, enter a Name and click "Create".
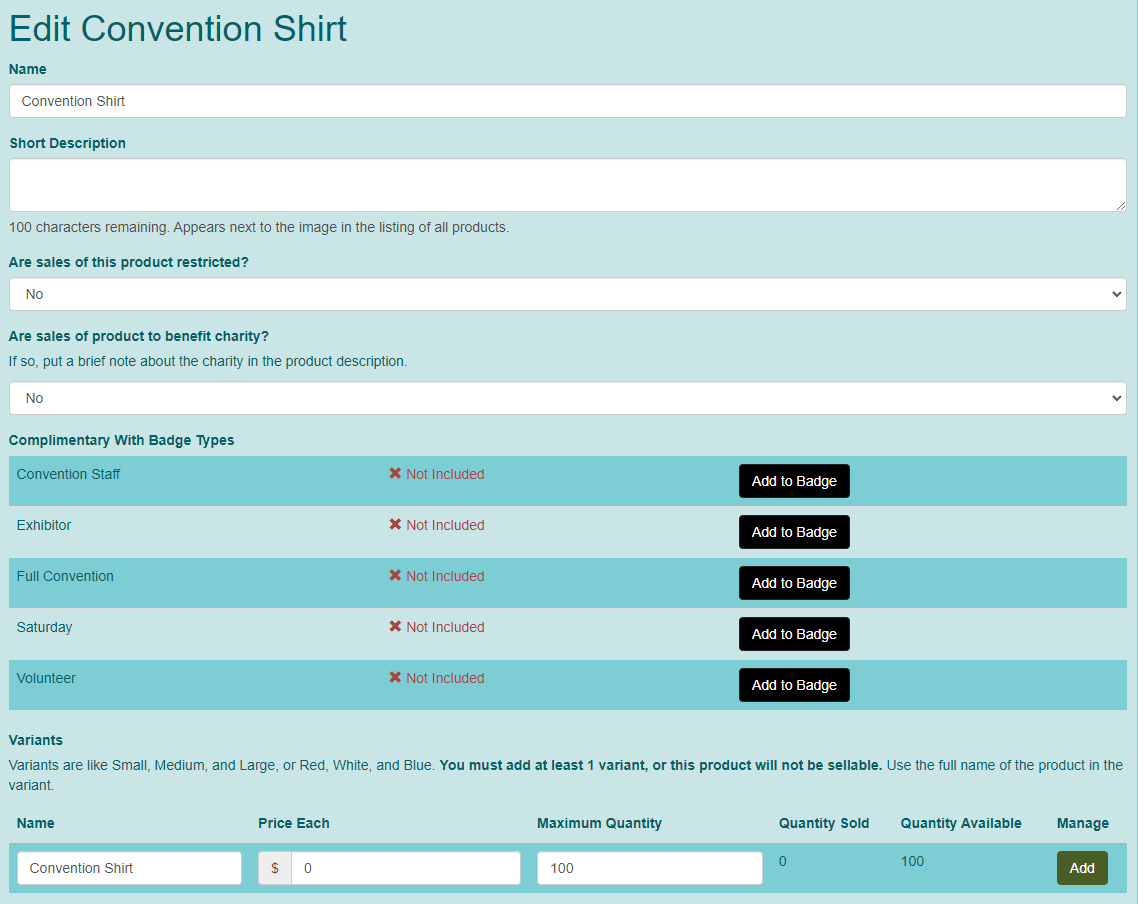
- This will display the Edit [name] screen.
-
- Name: This is the name you entered when you created the product.
- Short Description: This is short description that appears next to the product.
- Are sales of this product restricted?: The default for this field is no. If you select yes, you will be able to select May purchase after having badge or May only purchase once their badge can register for events in the Purchase Timing Restriction field.
- Are sales of product to benefit charity?: Determine if sales for the product benefit a charity. It is recommended you include information about the charity in the description.
- Complimentary With Badge Types: If you want a product to be included with a badge purchase, you can click "Add to Badge" next to the badge type to which this applies.
- Variants: Set up different sizes, colors, etc. that are available for your product. You must set at least one.
- Name: The product name is already there and you will add the modifier here.
- Price Each: What is the price of the variant.
- Maximum Quantity: How many of each variant do you have available.
- Quantity Sold: System field that will tell you how sales are going.
- Quantity Available: System field that will tell you how many of this variant you have remaining.
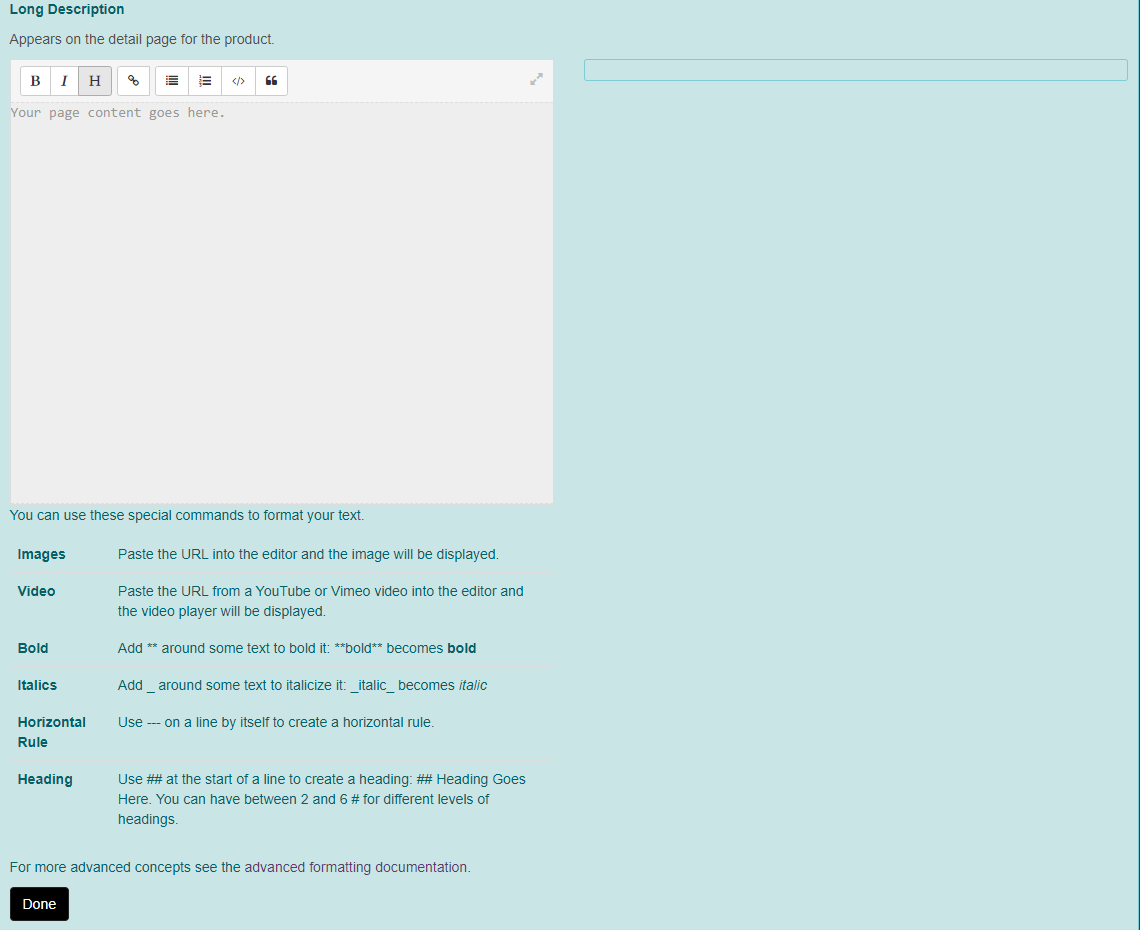
- Image: If you wish to include a product image, upload it here.
- Long Description: A longer product description field.
- Click "Add" after each variant. Repeat until all variants are listed.
- Click "Done" when finished.
- Repeat steps 3 - 7 as needed.

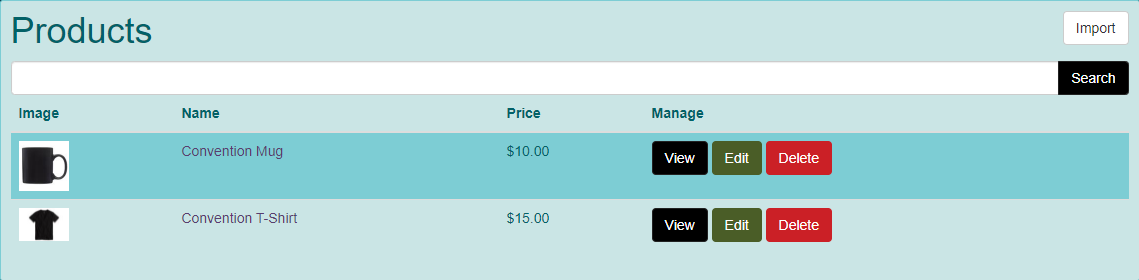
Import Products
- If you have created a previous convention and wish to import your merch from that convention, click on "Import" on the Products screen.
- This will display the Import Product Types screen.
- Choose a Convention to Import From in the drop-down menu.
- Click "Import Products from Convention".
- Products will be imported.
Setup Discount Codes (optional)
Discount codes are available for merch. You might want to set up an early bird discount or use them to discount merch for volunteers. Refer to Activate / Manage Discount Codes for additional information.
Open Merch Sales
- Go to Convention Tools > Merch > Settings.
- This will display the Merch Settings screen.
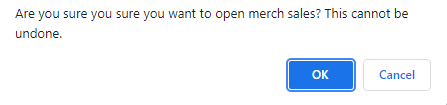
- Click "Open Merch Sales".
- A system message will appear.
- Click "OK".
- Merch sales are now open. You can Suspend Merch Sales or Close Merch Sales, but remember that once closed, they cannot be reopened.