Apply as an Exhibitor / Sponsor
You must have a Tabletop.Events (TTE) account in order to apply to exhibit. You can find instructions on Creating an Account here.
Many conventions have exhibitors that demo and/or sell products and sponsors that purchase advertising or sponsor a particular event. An individual can apply to be an exhibitor or sponsor. The application is either reviewed and approved by the convention organizers or approved automatically by the system. After your application is approved, you will be able to purchase booths, booth add-ons and/or sponsorships. Note: This is the main way that exhibitor applications are used in TTE; however, depending on a convention's work flow, some things may be different.
- Submit Application
- Edit Application
- After Submission
- View Exhibitor or Sponsor Profiles
Submit Application
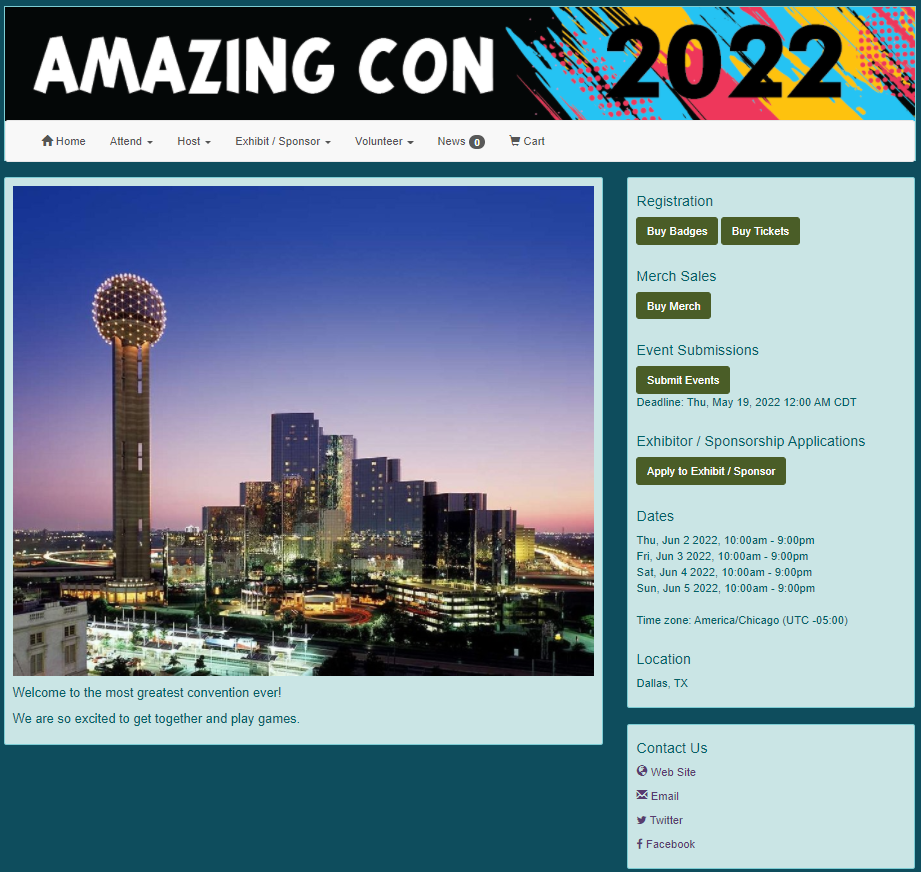
- Go to the home page of the convention you are attending.
- The page will vary slightly depending on whether or not the convention is currently accepting only exhibitor applications or also sponsor applications. Depending on the convention set up, you can either click the "Apply to Exhibit" or "Apply to Exhibit / Sponsor" button in the Exhibitor Applications or Exhibitor / Sponsorship Applications section OR go to Exhibit > Apply to Exhibit or Exhibit / Sponsor > Apply to Exhibit and/or Sponsor. This will take you to the Apply to Exhibit or Apply to Exhibit and/or Sponsor page. Note: The application process is the same for exhibitors and sponsors.
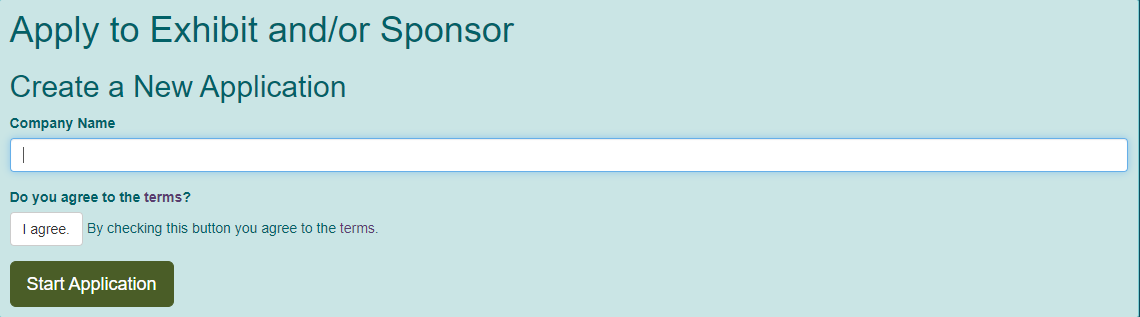
- In the Create a New Application section, enter the Company Name.
- The convention will have a link to the exhibitor and/or sponsor terms. After you've read the terms, click the "I agree" button.
- Click "Start Application".
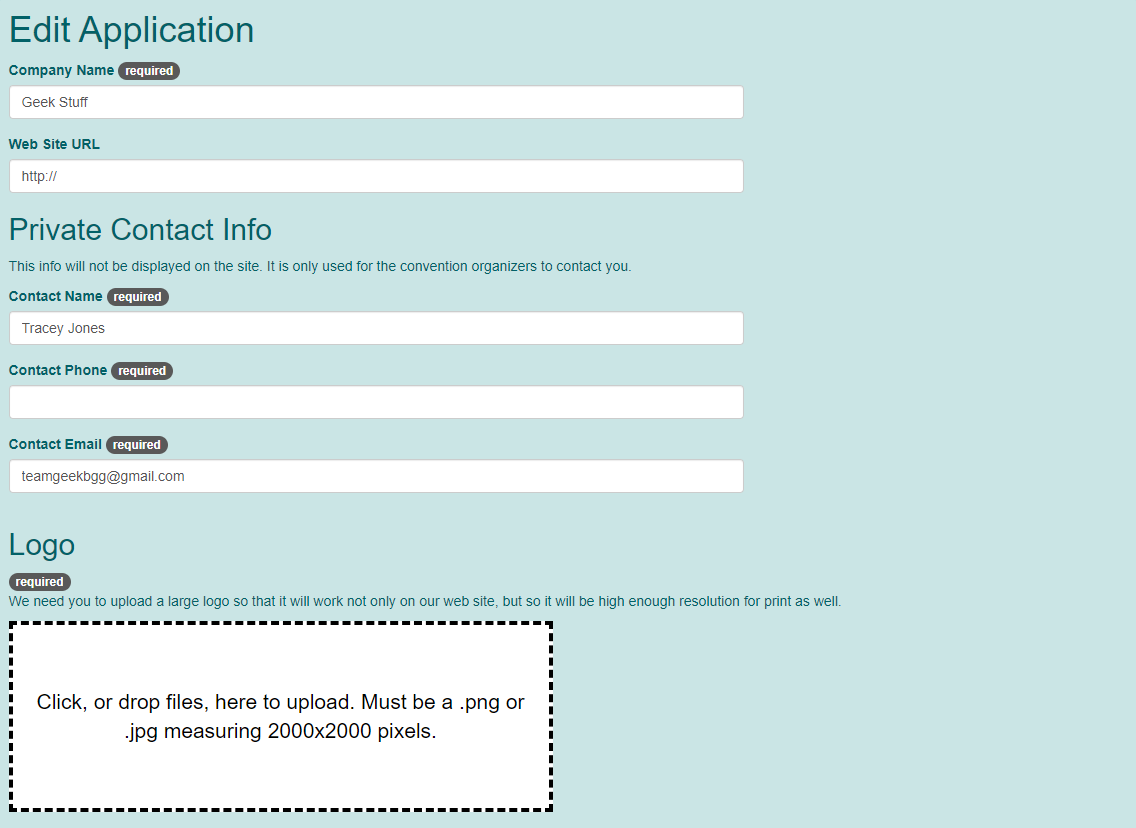
- Company Name: This is the name you entered when you created the application.
- Web Site URL: This is a link to your website that you'd like to include on the convention site.
- Additional custom fields as required by the convention: If the convention is requesting additional information, the custom fields will appear here.
- Contact Name: The company contact that all questions should be directed to. It will autofill with information from your TTE account.
- Contact Phone: The phone number for the contact.
- Contact Email: The email for the contact. It will autofill with information from your TTE account.
- Logo: Upload your company's logo. The file should be 2000 x 2000 pixels and either a .png or .jpg. This will be used on the exhibitor page you will have on the convention site. It should also be high resolution in case the convention wishes to use it on printed materials.
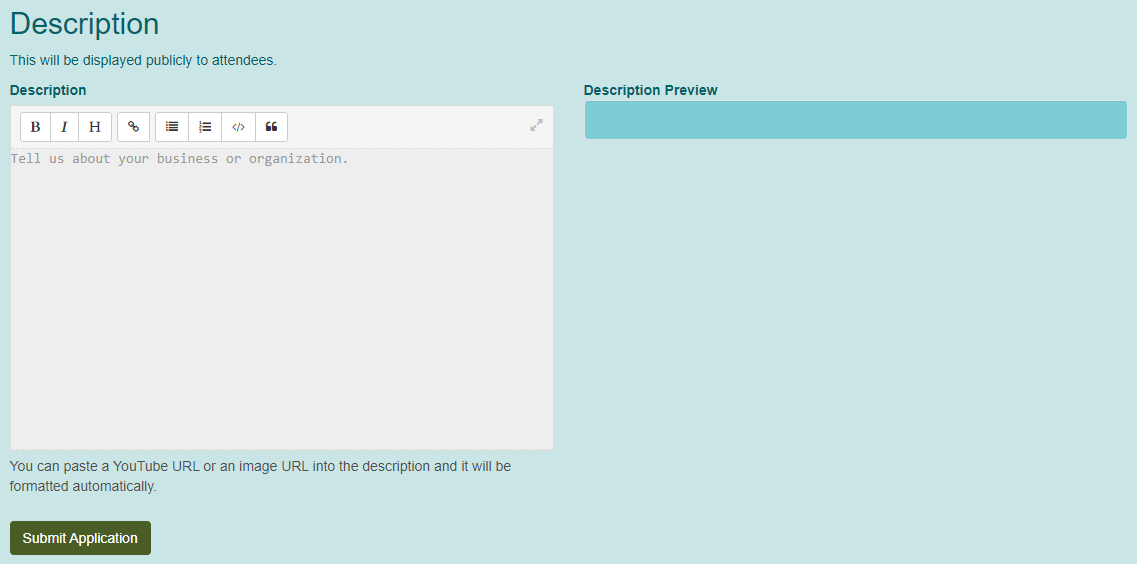
- Description: Information you want to provide for your exhibitor page on the convention site. A preview will appear to the right.
- Click "Submit Application". An update will appear at the bottom of the page stating you will receive an email and select your booth(s).
- Click the "Done for Now" button. This will take you back to the Apply to Exhibit or Apply to Exhibit and/or Sponsor page.


Edit Application
- Go to the home page of the convention you are attending.
- Go to Exhibit > Apply to Exhibit or Exhibit / Sponsor > Apply to Exhibit and/or Sponsor. This will take you to the Apply to Exhibit or Apply to Exhibit and/or Sponsor page.
- You can also view your application by clicking on your username in the upper right hand corner of the screen. In the Conventions I'm Exhibiting / Sponsoring section, click on the application you wish to review.
- Click "Edit" button next to the application you wish to edit.
- Make your changes to the application.
- Click the "Done for Now" button.
After Submission
After an application is submitted, the convention organizers will review your information. An application can have changes requested, be declined or approved.
Changes Requested
- If the convention organizers request a change to your submission, they will comment their requested changes and then send it back to you. An email is sent to you with the details. The application will have a Status of Changes Requested on the Apply to Exhibit or Apply to Exhibit and/or Sponsor page.
- Click the "Edit" button. Note: Notes from the organizer will appear in the Notes section on the right of the page.
- Click the "Submit Application" button.
- Click the "Done for Now" button. This will take you to the Apply to Exhibit or Apply to Exhibit and/or Sponsor page. Your event will again have a Status of Pending Review.


Declined
If the convention organizers choose to decline your submission, they will comment their reasons and send it back. An email is sent to you with the details. The application will have a Status of Declined on the Apply to Exhibit or Apply to Exhibit and/or Sponsor page.

Approved
- If the convention organizers choose to approve your submission, the application will have a Status of Approved on the Apply to Exhibit or Apply to Exhibit and/or Sponsor page.
- After the application is approved, you can still edit the information about your account.

Purchase Booths, Booth Add-Ons and Included Badges
- When you are ready to purchase your exhibitor booth, click on "Booths".
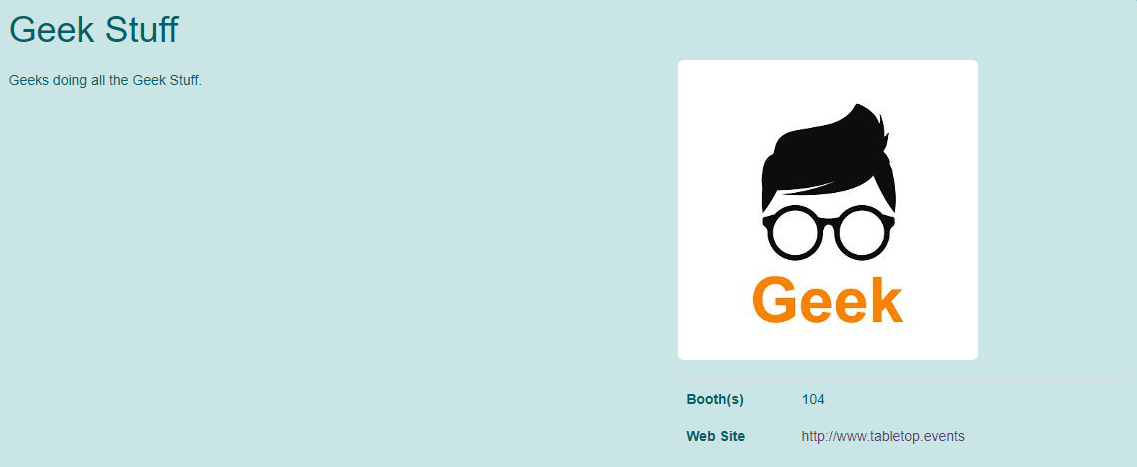
- The [company name] Booths page will be displayed.
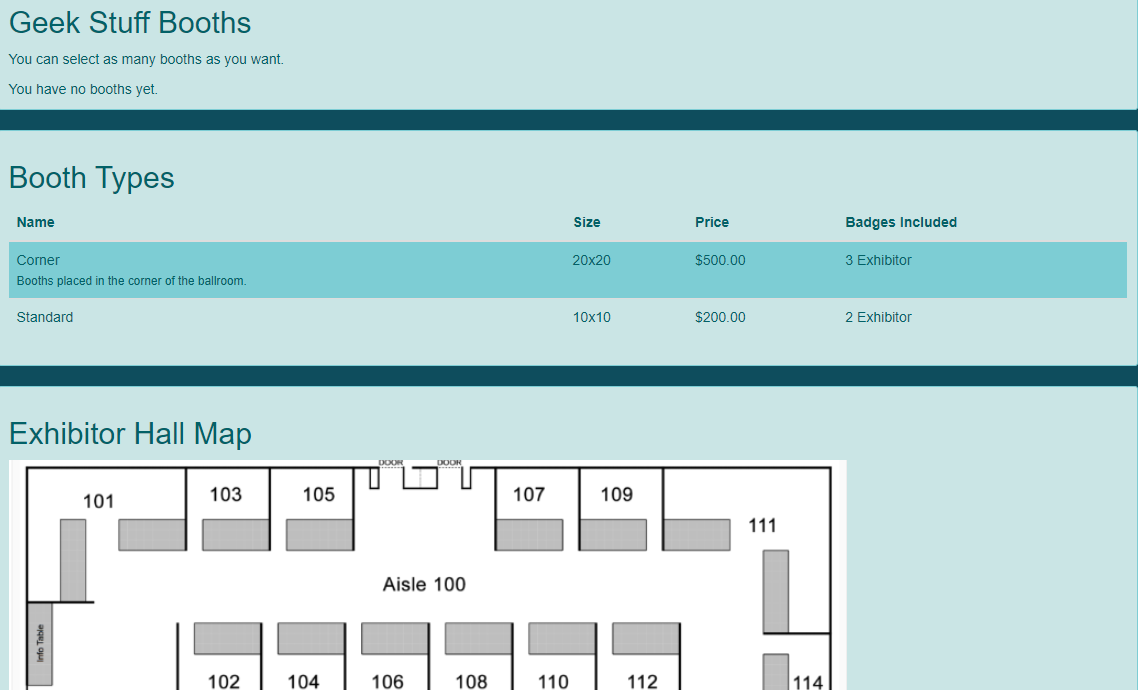
- The header information will vary depending on the setup of the convention; however, you will be able to see the types of booths available for purchase, the map of the space (if the convention has provided one) and booths which are available for you to purchase. Note: Some conventions may limit you to certain zones of the exhibitor space when they approved your application. Therefore, all the booths may not be displayed.
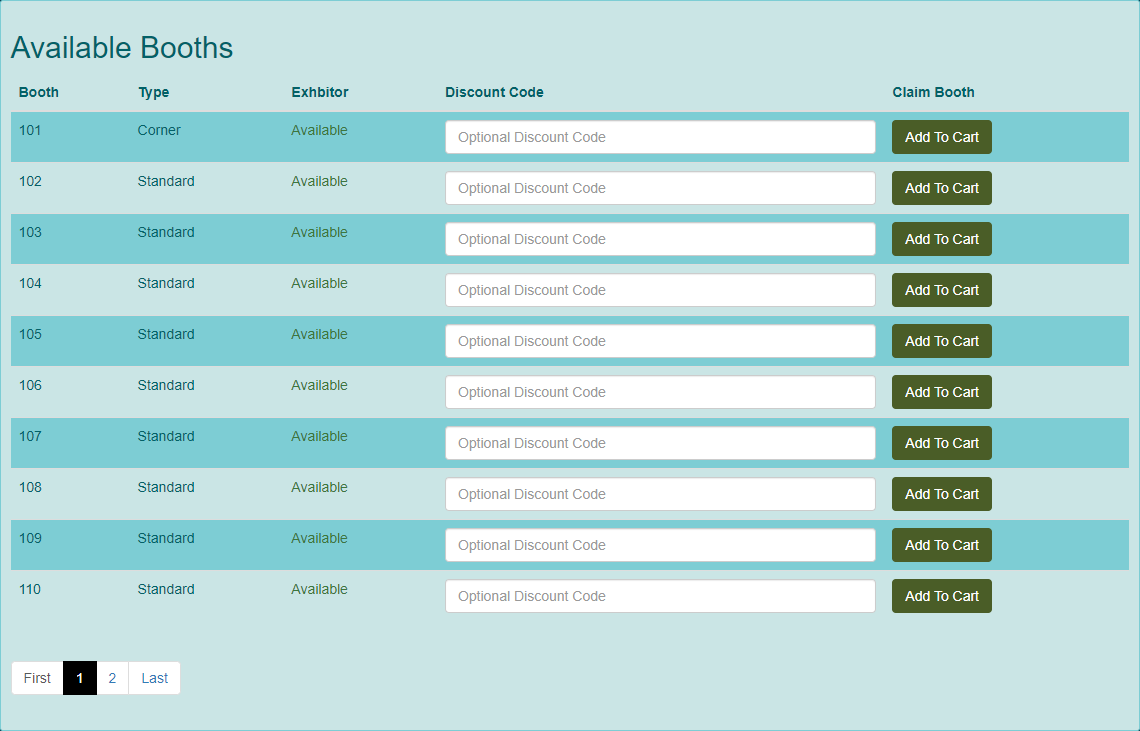
- If you have a Discount Code for your booth provided by the convention, enter it now. Click the "Add to Cart" button.
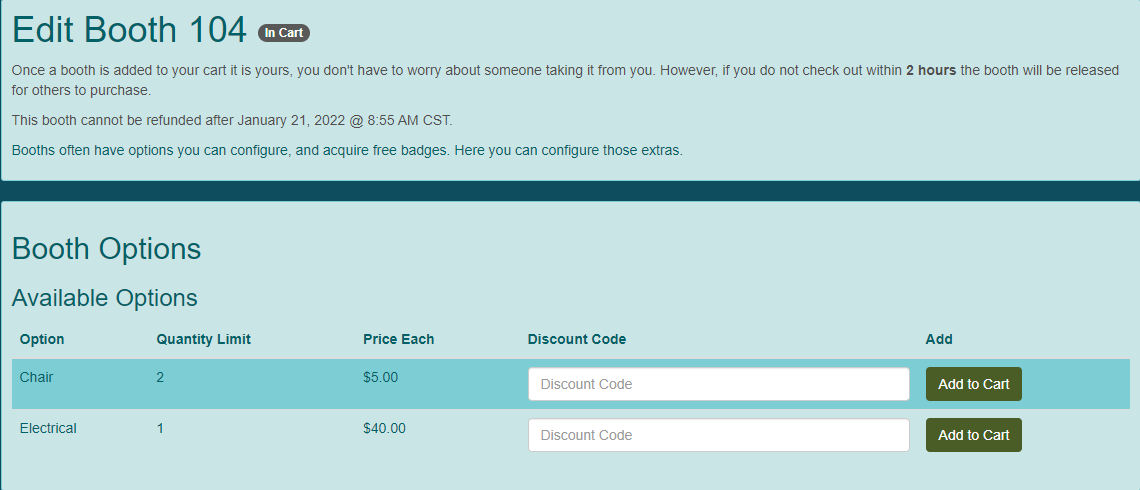
- The Edit [booth name] screen will display. This booth will now stay in your cart for 2 hours. If you don't checkout during that time, the booth will be returned for others to purchase.
- In the Booth Options section, you can choose any options you'd like to include with your booth. If you have a Discount Code, enter it now. Click the "Add to Cart" button.
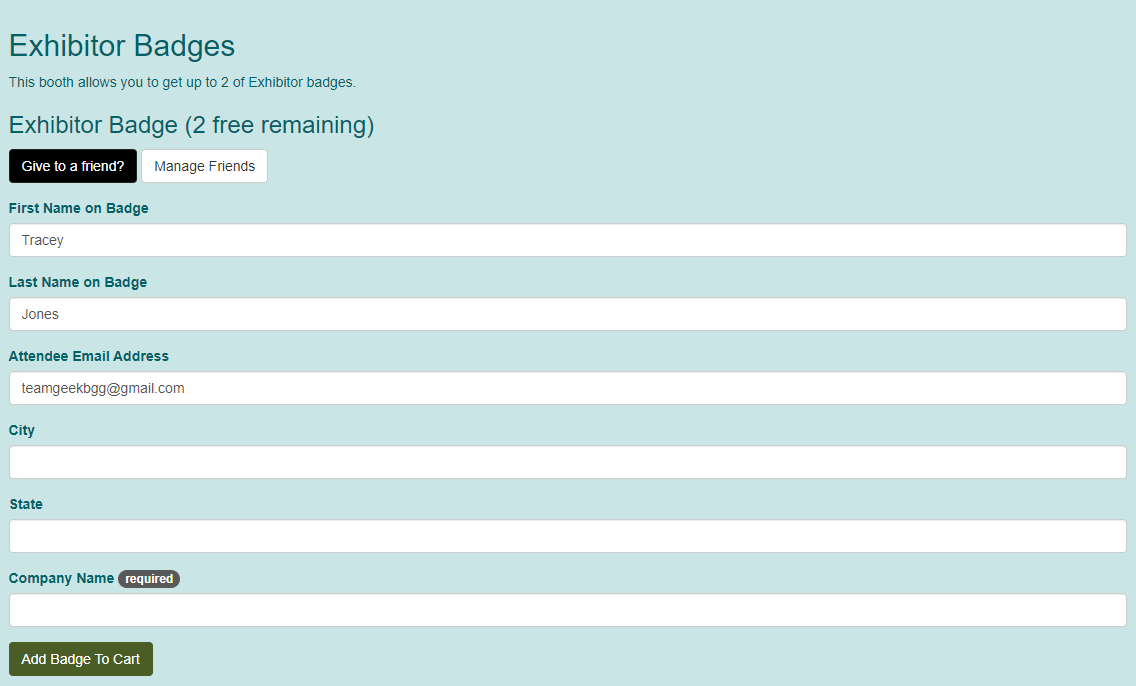
- In the [badge type] section, you can assign any free badges that may come with your booth to your employees or volunteers.
- Badges created here are assigned to your TTE account by default. If you would like to assign the badges directly to others, you will use the TTE friend system. More information can be found in the Purchase Convention Badge document under the purchase for a friend section.
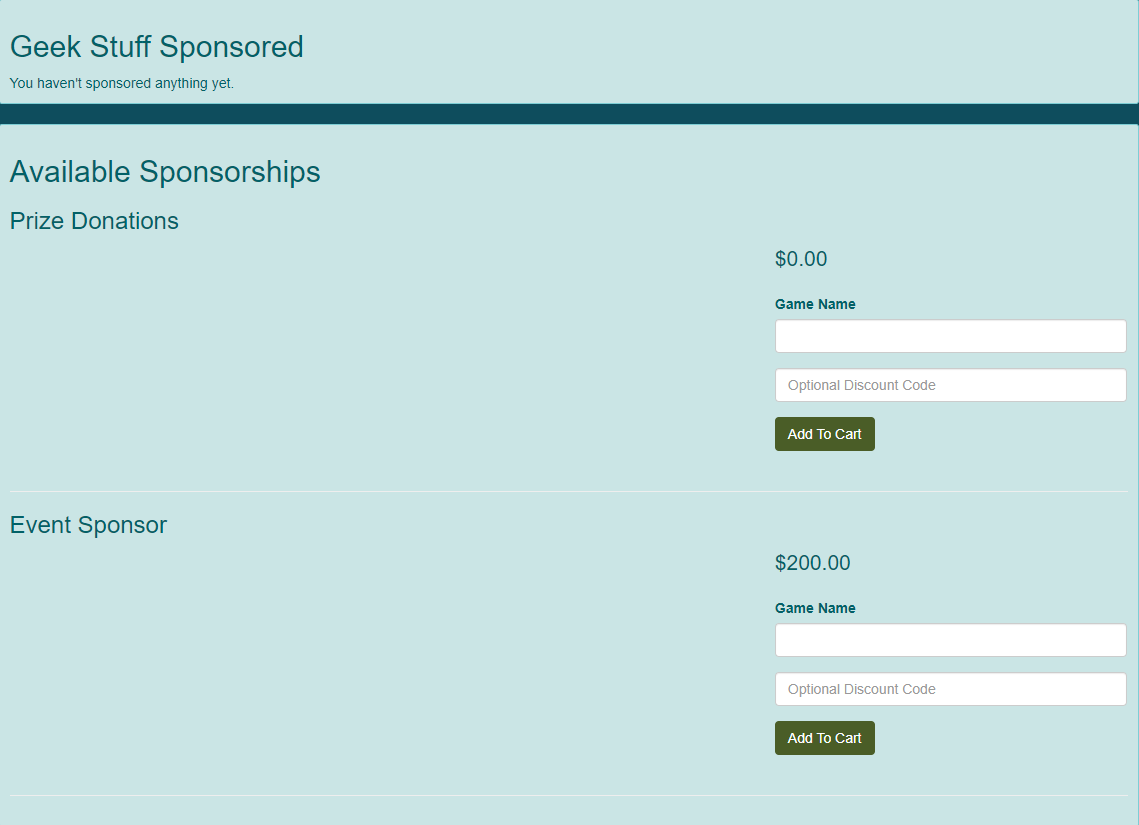
Purchase Sponsorships
- When you are ready to purchase your sponsorship, click on "Sponsorships" button.
- The [company name] Sponsorships page will be displayed.
- Under the Available Sponsorships section, enter any required information, Discount Code (if you have one) and click "Add to Cart".
Checkout
- From either the [company name] Booths page or the [company name] Sponsorships page, you can click the "Checkout" button at the top of the page.
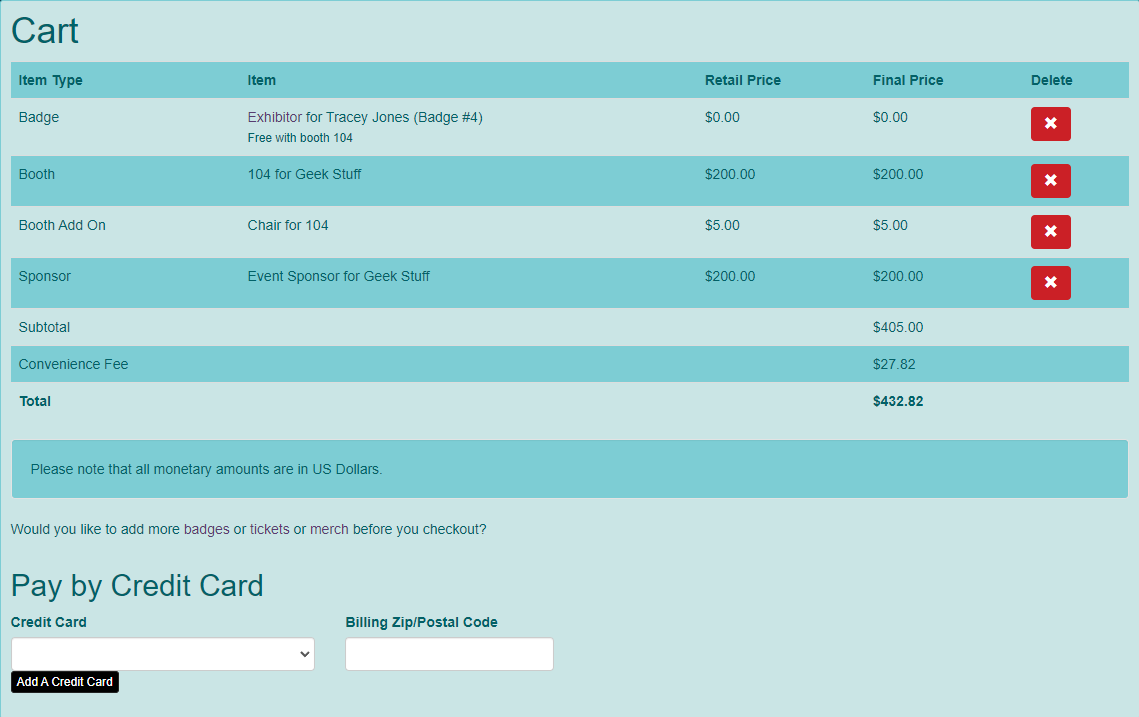
- The Cart screen will be displayed.
- If this is your first purchase with your TTE account, you click the "Add A Credit Card" button in the Pay by Credit Card section. If you have a card saved to your TTE account, skip to step.
- Enter your credit card information, then click on the "Save" button.
- Choose the appropriate Credit Card and enter the Zip Code associated with the card. Click "Pay via Credit Card".
- After you have completed checkout, you will receive see a receipt for the transaction. A copy will be sent to your e-mail.
- You can cancel booths, booth add-ons and sponsorships by clicking on the "Refund" button.
View Exhibitor or Sponsor Profile
- From the convention home page, go to Attend > Exhibitors or Attend > Exhibitors & Sponsors.
- The Exhibitors page or Exhibitors & Sponsors page will appear.
- Choose your company from the list.
- The [company name] page will appear.